INTEGRATION
The Project Notes application module integrates with the rest of Proteus in several different ways as discussed below.
Fieldcodes

Fieldcodes allow you to access design properties in your Project Notes.
To add a Fieldcode
1) Make sure the Design Properties are populated in ISIS.
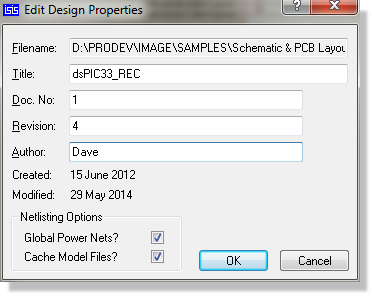
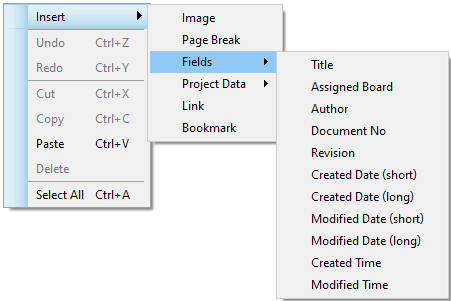
2) In Project Notes, right click where you want to place the fieldcode and insert from the resulting context menu.
Bookmarks

Bookmarks are anchors that you place inside your document at points that you might want to navigate to. After placement, you can link to them from a different place in the document. An obvious example would be to create a table of contents for a document.
To add a Bookmark
1) Right click at the beginning of the line where you want the bookmark and insert from the resulting context menu.
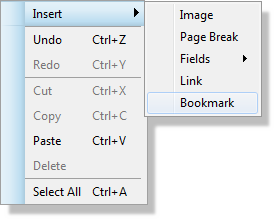
2) Enter a name for the bookmark that is relevant to the position it is being placed.
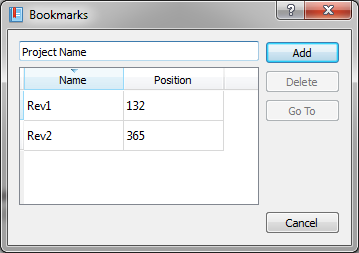
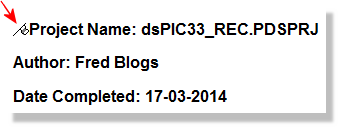
3) When complete you will see a small flag to indicate that a bookmark is in place. This will not be shown in read-only mode or on any of the output formats (PDF, print).
See Also
Adding links within a document
Links

Links allow you to click and navigate to another place. This can be within the document, within the application or to an external website.
When in Editing Mode, link navigation is CTRL+Click. When in read-only/locked mode link navigation is by left click. Some link types are not exported in some formats.
To add a link within the document
1) Create one or more bookmarks as described above.
2) Highlight the text that you want to link and launch the link dialogue form.
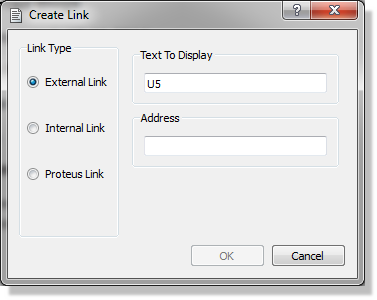
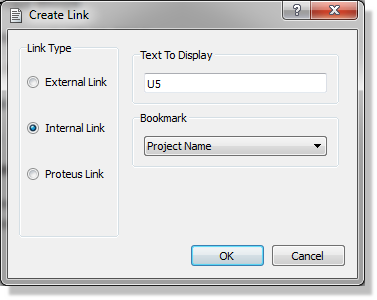
3) Select the internal link option from the left, check that the text is correct and reference the bookmark you want.
To add a link elsewhere in Proteus
1) Right click and insert the link from the context menu.
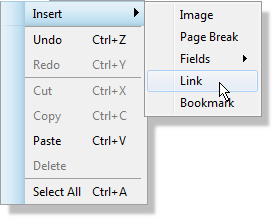
2) Select Proteus link at the left hand side and then select either the schematic or the layout.
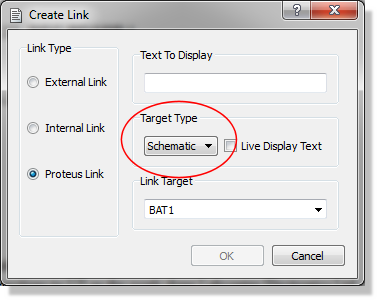
3) Choose the part you want to link to from the bottom and enter the link text at the top.
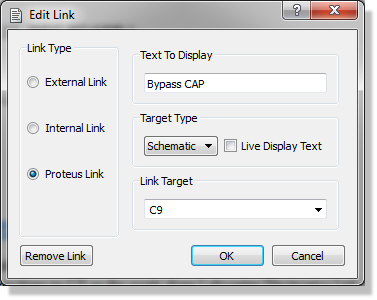
If you select a live link then the link text will be forced to be the same as the part reference and will then update with annotation changes.
To add a link to an external website
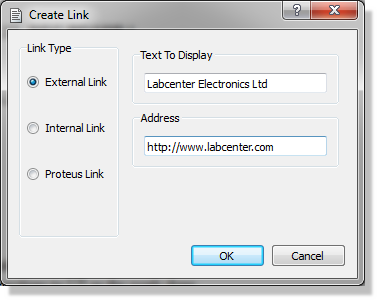
1) Launch the link dialogue form.
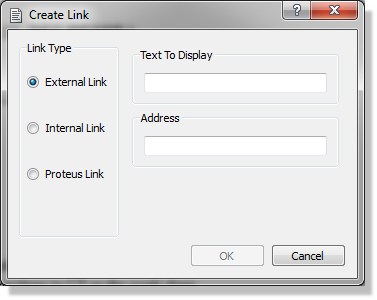
2) Make sure external link is selected on the left. Set the displayed text and destination website fields.
Project Data / Data Objects
Project data or data objects are structured information 'widgets' than can be inserted into any report. They form the building blocks of all of the template reports available to users and provide an easy way to customise or create your own reports.
To insert project data
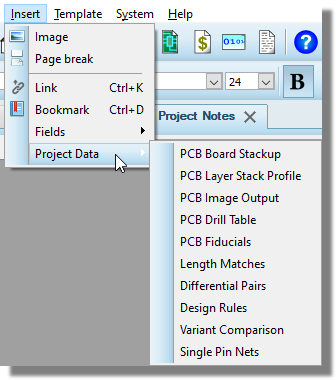
From the insert menu select Project Data and then the data object that you want to insert
OR
Click on the project data icon on the main toolbar and then the data object that you want to insert

In either case the data object will insert at the position of the mouse cursor. There are two basic type of data object, namely image objects and table objects.
Image Objects
Examples include layer stackup graphics and customizable views of the PCB. Image objects can be resized after placement as required
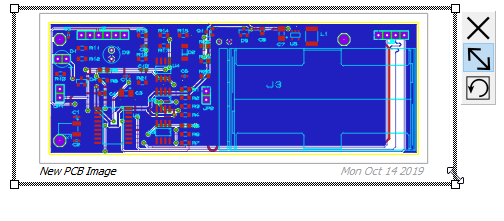
The maintain aspect ratio toggle on the context menu (or the diagonal arrow on hover) is very useful to avoid skew/distortion during a resize.
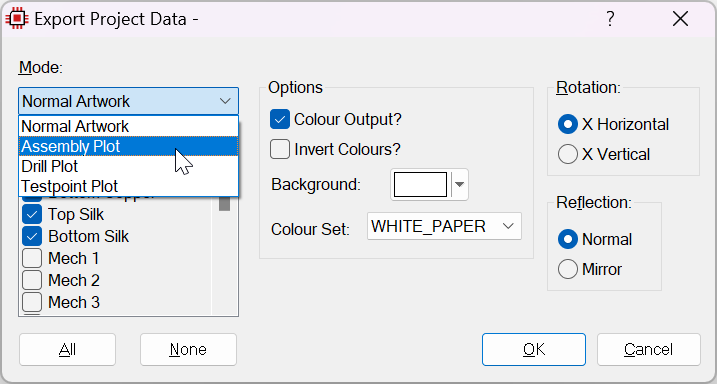
Some image objects, notably the PCB artwork, can be configured after placement.
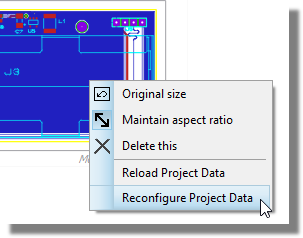
This allows you to set the visible layers for the image view which is helpful for assembly drawings and/or limited views of multi-layer boards.
Tabular Objects
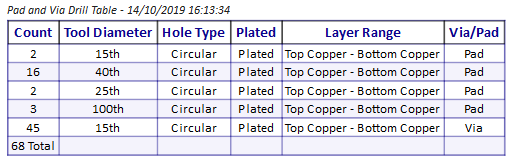
This is the more common type of data object and is used to represent any data set output from Proteus.
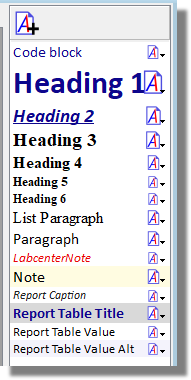
Styling of the table takes place from the CSS styles on the right hand side of the editor
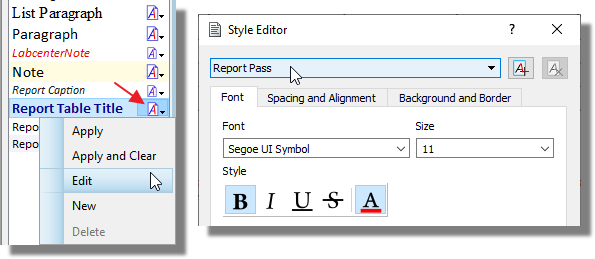
Note that some less common styles are not listed in the main view but can be found and edited via the style editor dialogue form.
Timestamping and Re-loading
All of the project data objects are timestamped on placement and will update the timestamp when re-loaded. A reload operation is always manual and can be invoked from the context menu individually or from the Edit menu globally.
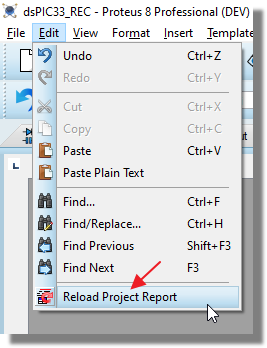
This provides an auditable system for reporting on a revision or milestone for a PCB design project.
Clipboard
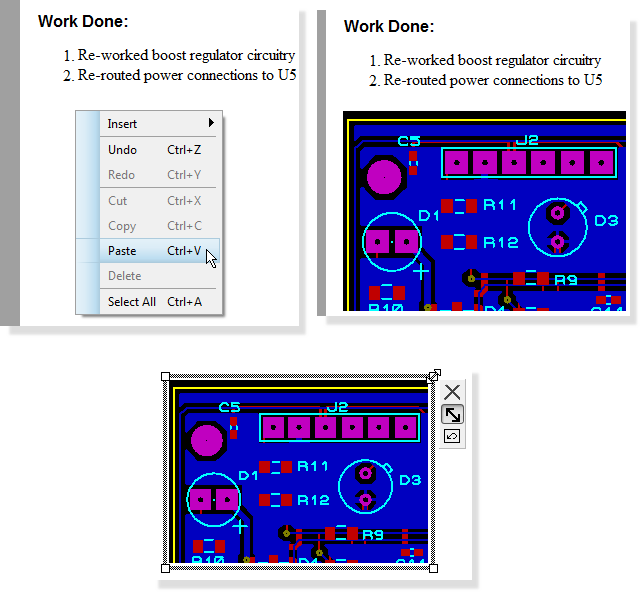
The shared clipboard in Proteus means that you can quickly insert images from other parts of the system.
To insert an image of the schematic / layout
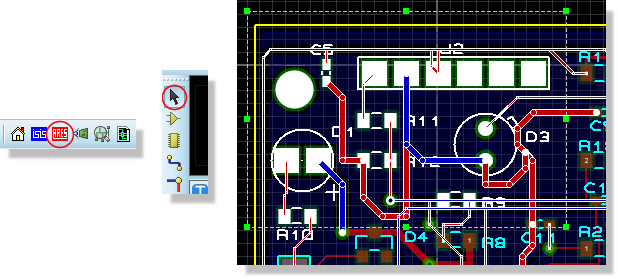
1) In either the schemaitc or layout enter selection mode and drag a box around the area that you wish to copy.
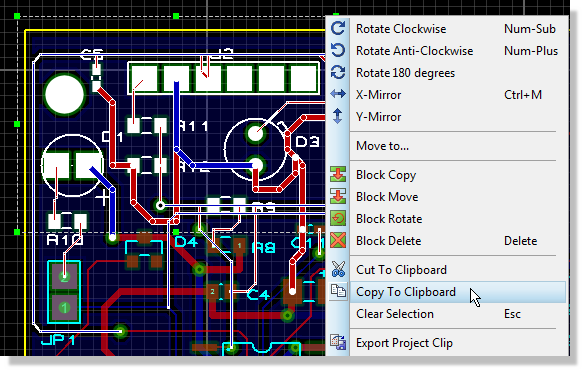
2) Right click and select copy to clipboard. The copied image will be clipped at the borders of your selection box.
3) In Project Notes, right click at the insert point and paste from clipboard. Re-size as required.